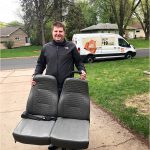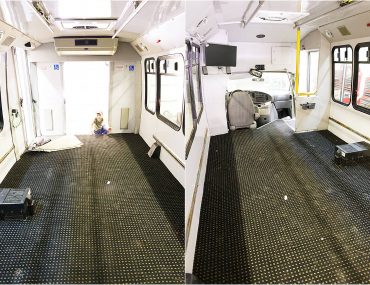
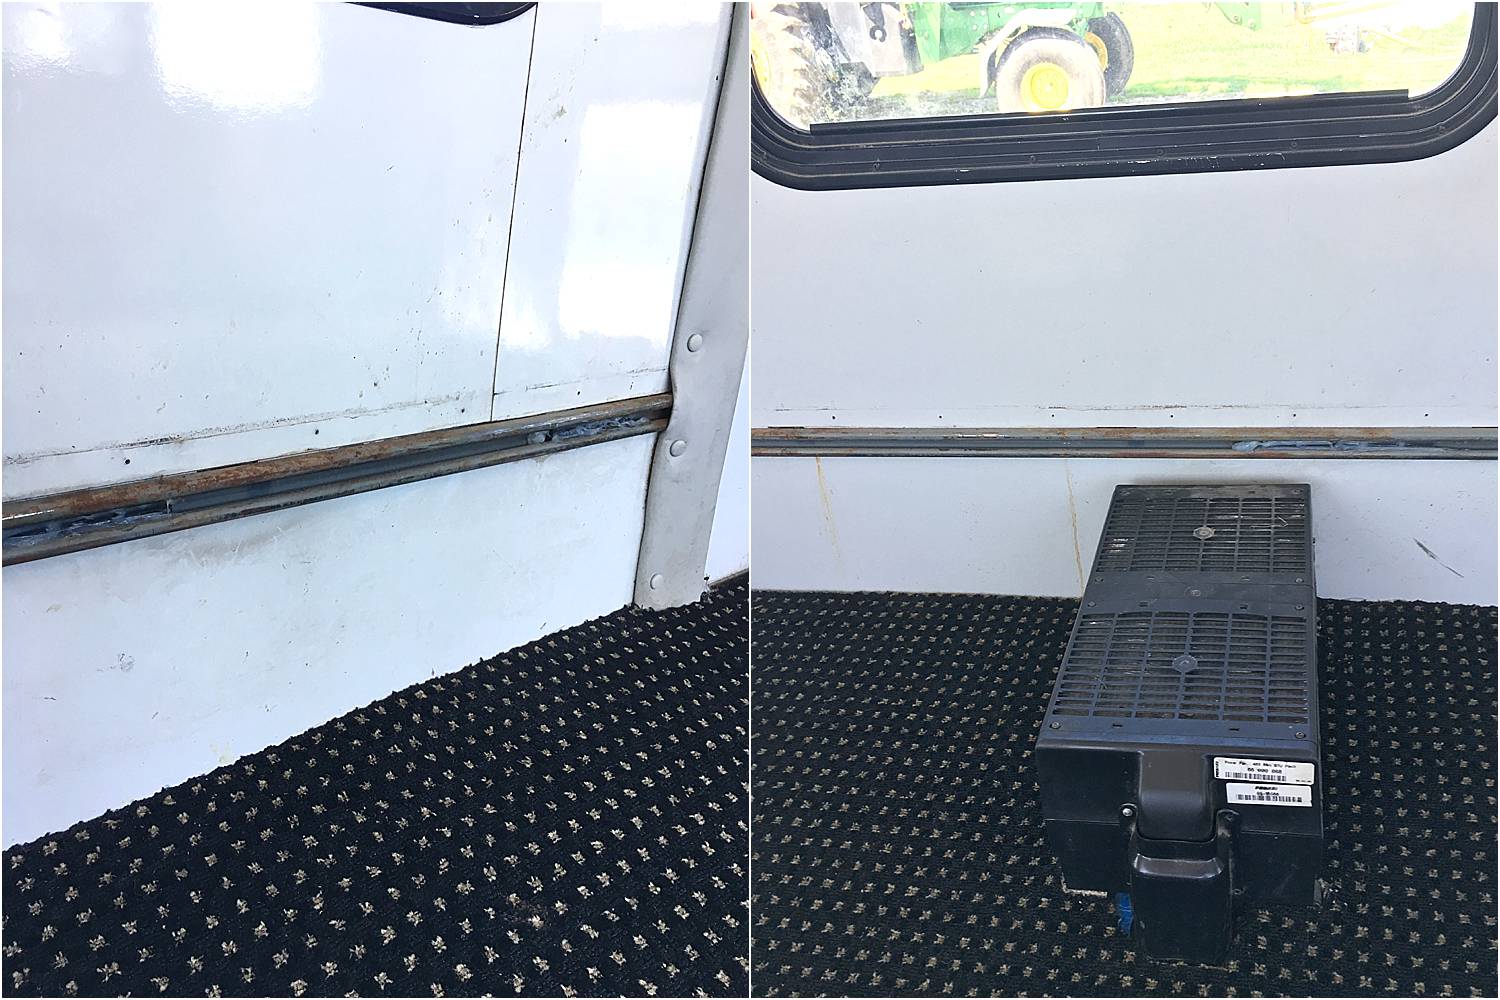
Now that we had seats in-hand, we had to decide how and where to install them. The existing side rail system was in tact on the bus and our new seats were the same style, so we didn’t have to hunt around for hardware or start from square one. The previous owners did caulk down the piece that runs inside the track and acts as a bolt that the seat screws twist into. Once we cleaned those, we were able to relatively easily secure the seats to the side of the bus.
Each seat did come with lap belts that secure into the track as well. Because the track extends from the front of the bus to the back of the bus, there wasn’t a good way to access the rails to add in the seat belt bolts. (See picture below left.) We did remove the strip of padding, but there were additional road blocks to access, which is no doubt why the previous owner caulked down the bolts as opposed to simply removing them. Luckily we had small bolts my dad was able to grind down on an angle to better pop back into the track at the exact point we needed to attach the seat belt bases.
Because we had five total seats, we had some wiggle room in terms of how to install the seats: from which direction they faced to whether or not they had the passenger seat grab handle. We knew we wanted the first set forward-facing and the other set to cover the space heater that was already installed and functional. As you can see in my makeshift diagram, we opted to put the second row rear-facing to create a conversational grouping of seats with the final forward-facing row. All three needed to clear the rear handicap access door, which means three seats within the 100 inches of clearance. Spacing is a little tight if, for example, there are four adult men sitting in this quad. But now there’s a nice cooler/lawn-chair-sized storage space between the first and second rows. Most importantly, lining the seats up all on one side gives us a lot of flexibility for the other half of the bus.

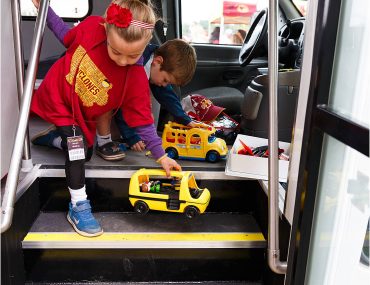
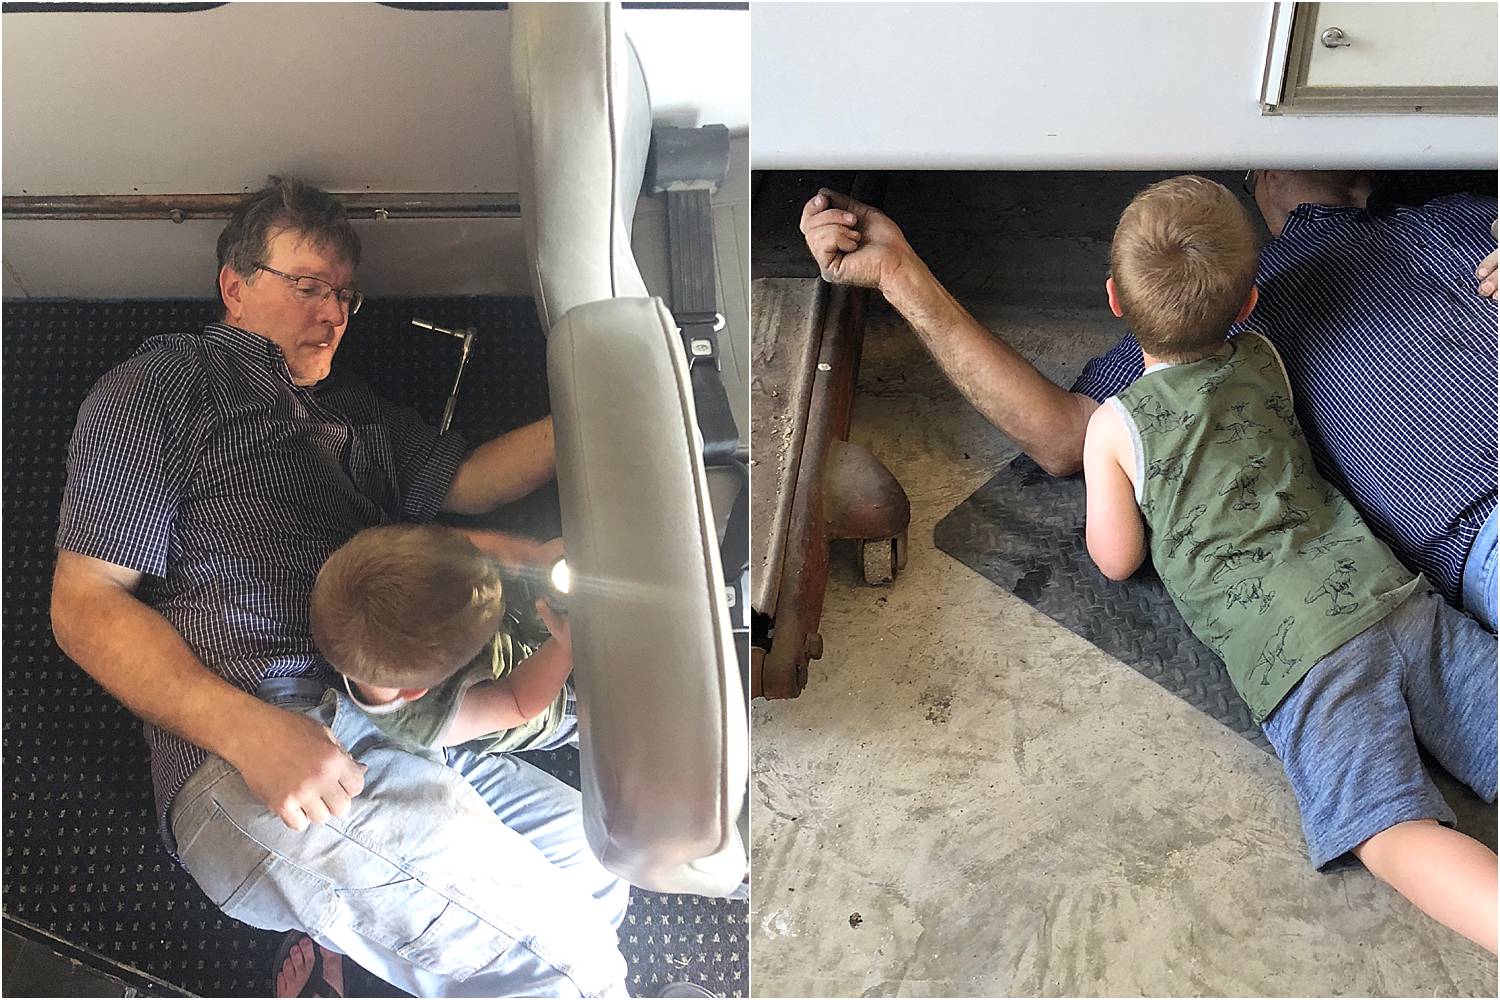
To ensure the bus seats are secure to the floor, we drilled down from the seat, through the carpet, pad, sub floor and eventually the bus itself. Because my dad’s shop is so well-equipped, he had long nuts and bolts on hand, as well as the Loctite we used to make sure the bolts won’t work their way off as the bus travels. We did have to literally jack up the bus to get access up under the wheel well and also ensure we weren’t drilling through the electrical and other duct work for the heater. Again, pretty lucky to have a machinery-rated vehicle lift available for use. As you can tell, little Cyclone L was very eager to help every step of the way. I still haven’t gotten the grease out of those shorts, so drop you laundry tips in the comments section please and thank you!
I was searching all the sale sights and even Amazon for couches, futons and other small small-but-comfy seating options to fill the back half of the bus opposite of the traditional bus seats. Requirements: it needed to be relatively short and narrow to fit the space, affordable, and easy to clean/maintain since we envision this getting heavy use during tailgate season, and also sitting in a shop or storage space for many months of the year. My brother Eric actually had a futon from his dorm room that he brought back to the farm and didn’t need. My mom had stashed it in the basement in case he changed his mind, and thus the final piece of seating is both college-proof and FREE!
As we weather a tailgate season we might look for something different, whether it’s a more traditional couch, something just in general more comfortable or we might even toy with a built-in that has under-cushion storage. Regardless, we’re really excited about the potential of a larger seating area on the couch for those who might want to listen to/watch the game from the lot, or even for little Cyclones to nap in for longer days.
A Note on Safety
Rest assured, until age 8 the kids will be secured in some sort of seat belt modifier when the bus in in motion—whether it’s a 5-point harness seat/booster rated for lab-belt installation or we’re looking into the RideSafer Harnesses as well. (The latter was recommended from a friend who travels with her family frequently.) Our seats don’t have tethers right now, so we’re exploring our options! For more on safe driving with children and car seat safety, I highly recommend the National Highway Safety Administration (NHSA), paired with your specific vehicle and car seat user manuals. The lap belts are an important first step for us because we believe modeling proper seat belt usage is just as important as using car seats.
Other articles I found useful when considering our seat belt options were, “The Reason You Won’t Find Seat Belts on a School Bus” on mother.ly and “Are Seatbelts Required on School Buses?” in the New York Times.