
What to do with a week of no childcare care in the middle of summer? “Vacation,” you might say? If you’re MNCYFAM, you say “Bus Improvement Week!” Our biggest planned project was to replace the carpet on the bus alongside a slew of other smaller maintenance projects. Our to-do list included:
- Replace the floor
- Build and install bench seating
- Check and seal the roof for against potential leaks
- Install a backup camera
- Clean!
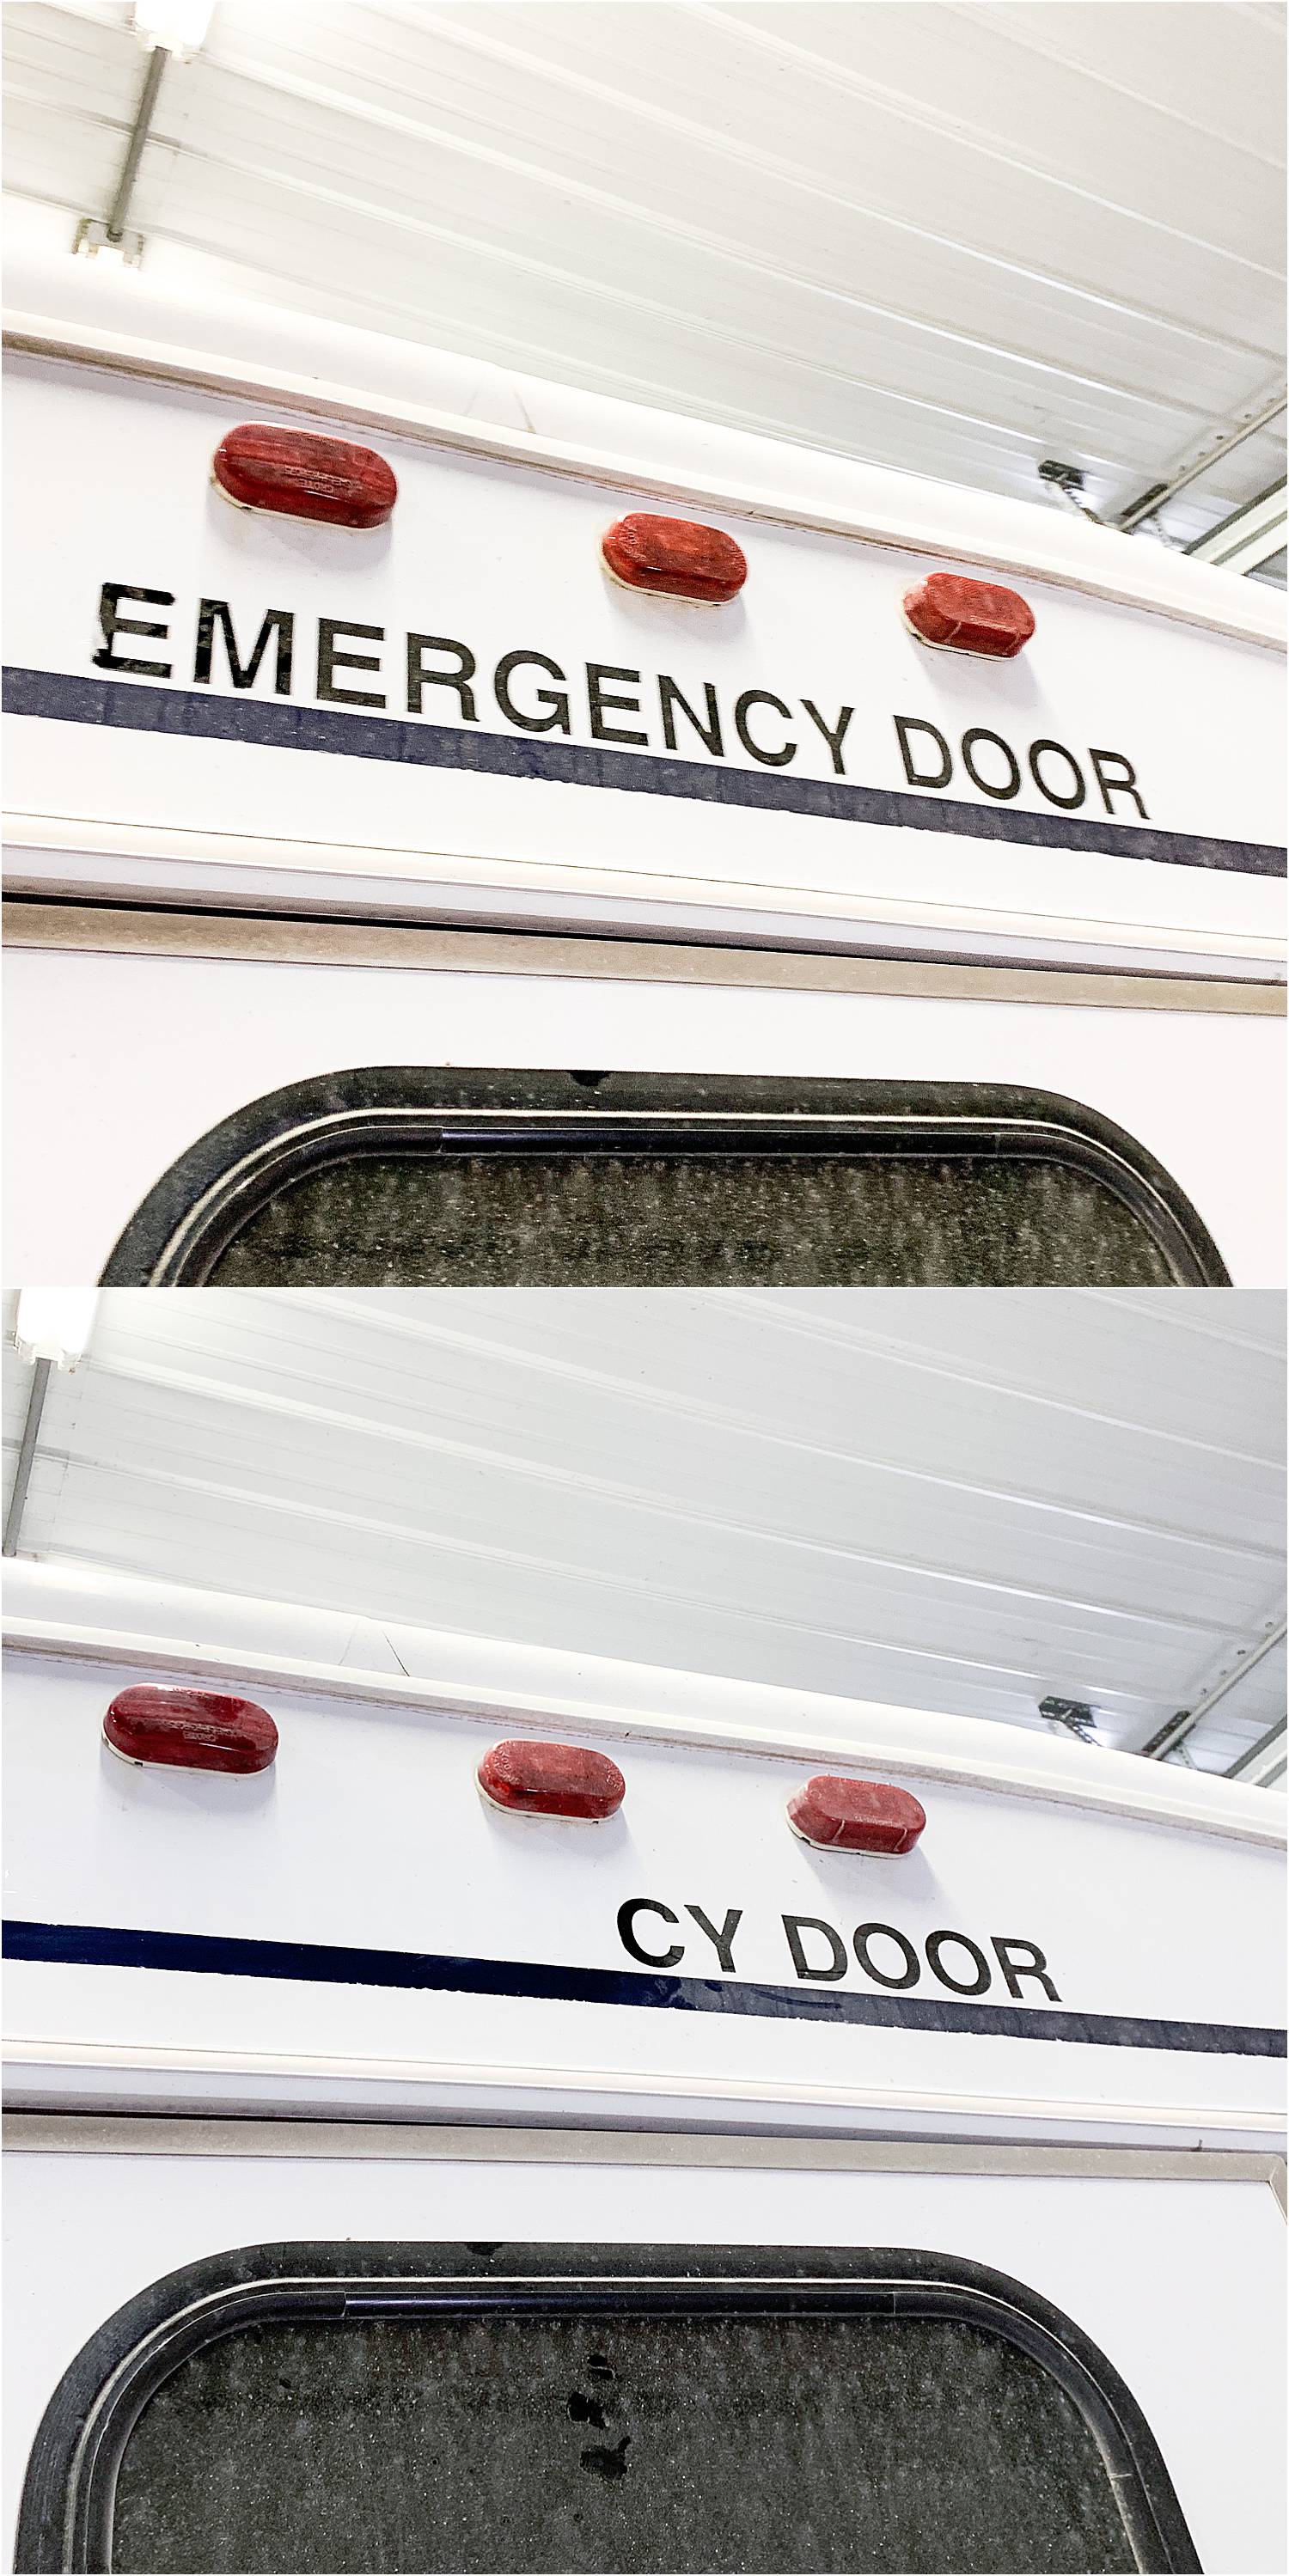
- A small exit door project
The Carpet Project
When we bought the bus, we actually loved that there was existing carpet. The previous owners had done what we felt was the hard work taking out all of the seats, handicap chair hookups, etc. and creating a clean slate. Over the course of the tailgate season, the carpet proved a little problematic. It hid everything, namely things like punch spills from a certain four-year old. While it was nice to not have visible spots, the dark carpet also hid sneaky water problems—more on that later. It was also really hard to clean in the middle of the tailgate season. Since we store the bus in Ames we don’t have access to a charger for a vacuum or carpet cleaner of any kind.
We spent an evening with kids in tow, scouting all the stores for the best product and deal on some sort of hardwood-like floor. Almost every skoolie I’ve ever seen has beautiful wood floors. While I knew that investment wouldn’t be worth it for our project, I felt confident we could make an improvement. Wood laminate floors have come a long way since my last home-improvement project. While it was lovely to see such high-quality material, we just couldn’t stomach the price tag for our bus. I was also looking for more of a whitewashed wood material – to get more reflected light into the space, which limited our options as well.
We landed on this really great new-to-me vinyl plank material from ProCore at Lowes. It installs like tongue-and-groove laminate wood planks, but has the strength and durability of vinyl flooring. It conveniently also came in as the lowest price point, at $1.68/square foot, or $38/carton.
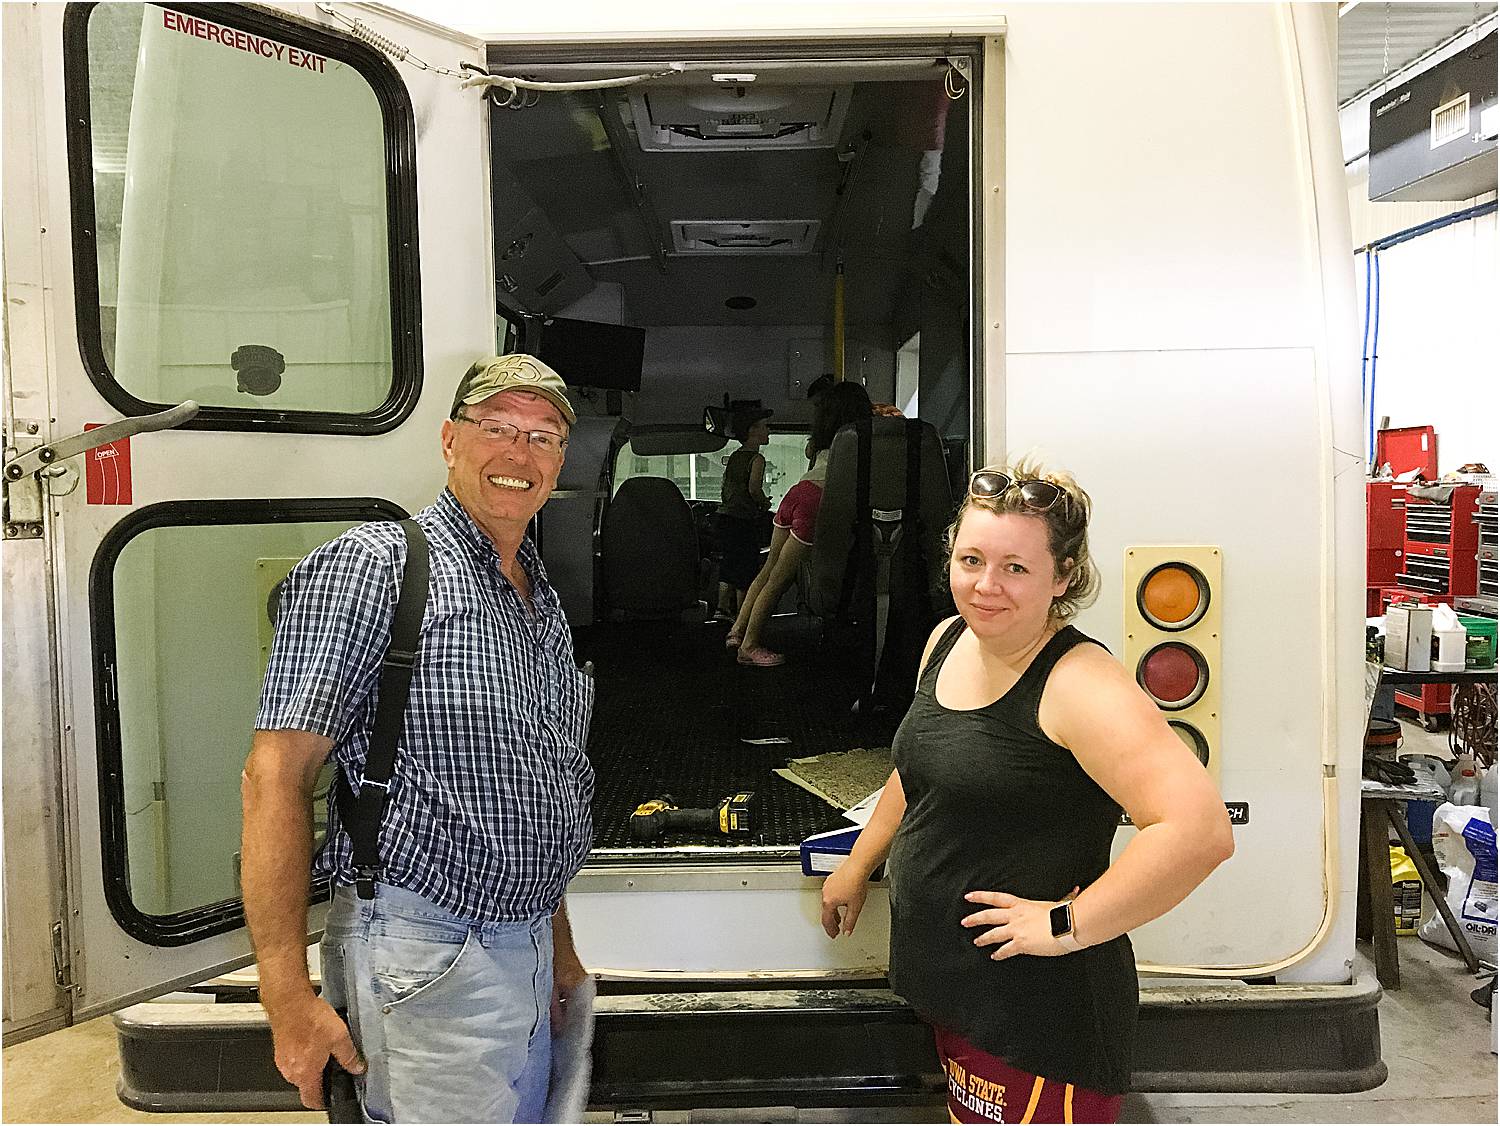
Here’s me and my dad as we set to begin the project. I’m not sure whose expression is more accurate for what’s about to unfold!
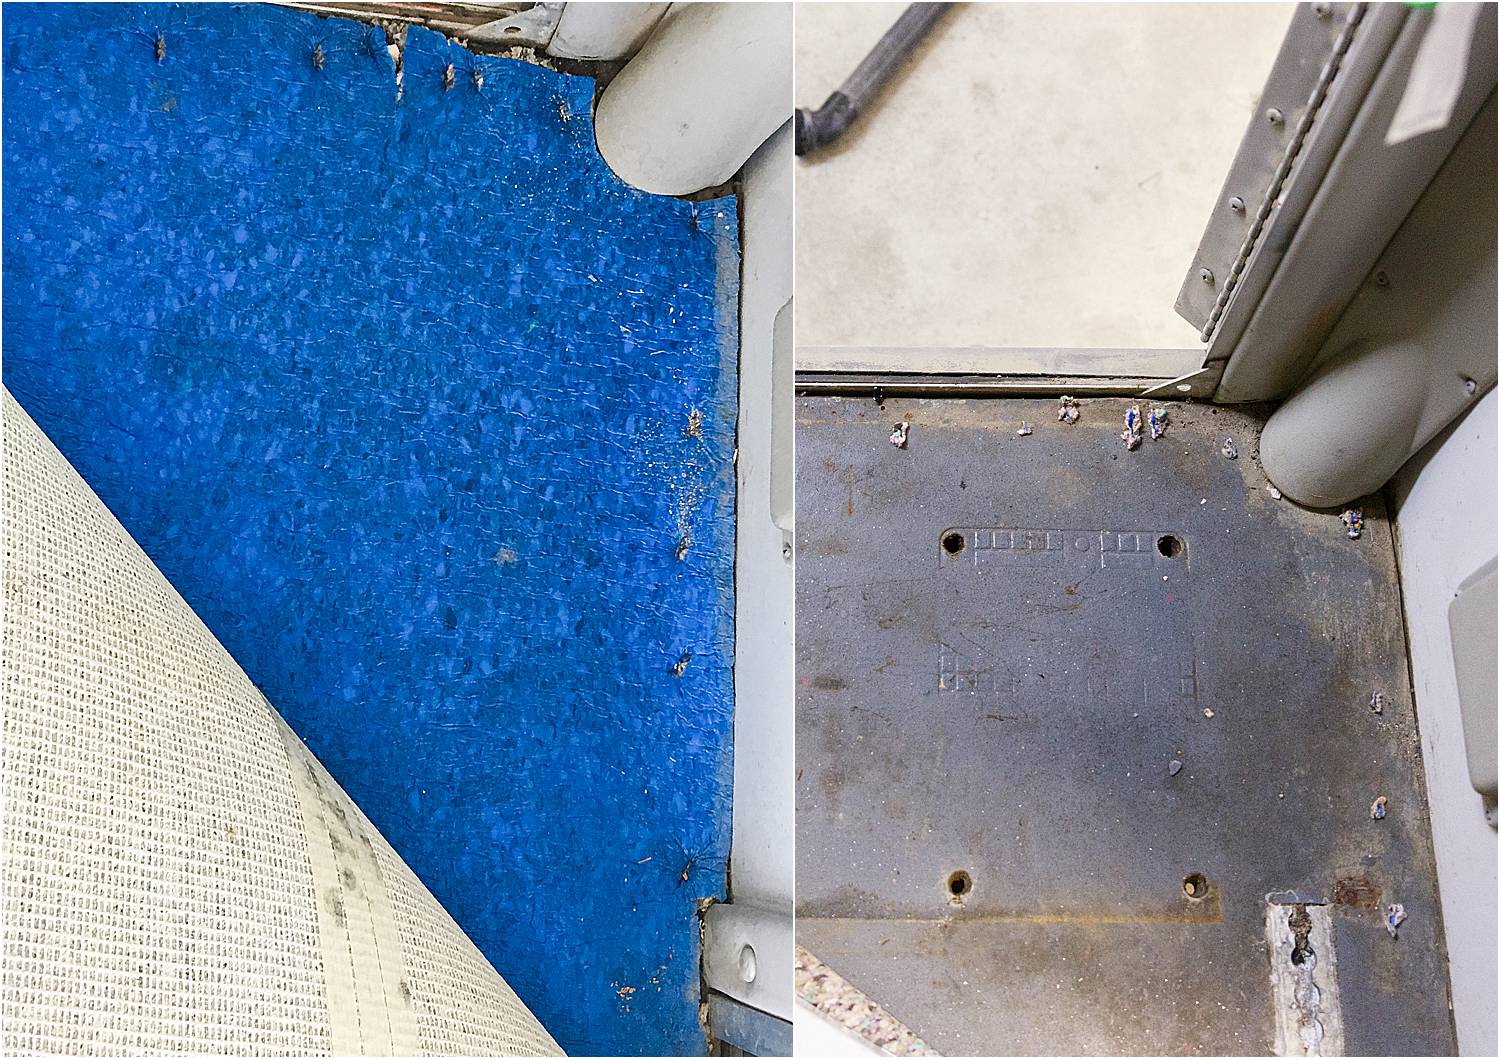
First we had to uninstall the carpet and carpet pad. This was pretty easy and we were pleasantly surprised to see the original floor in tact beneath the carpet, with some metal flashing installed to help level out the parts of the floor that remained for chairs/seat belts.
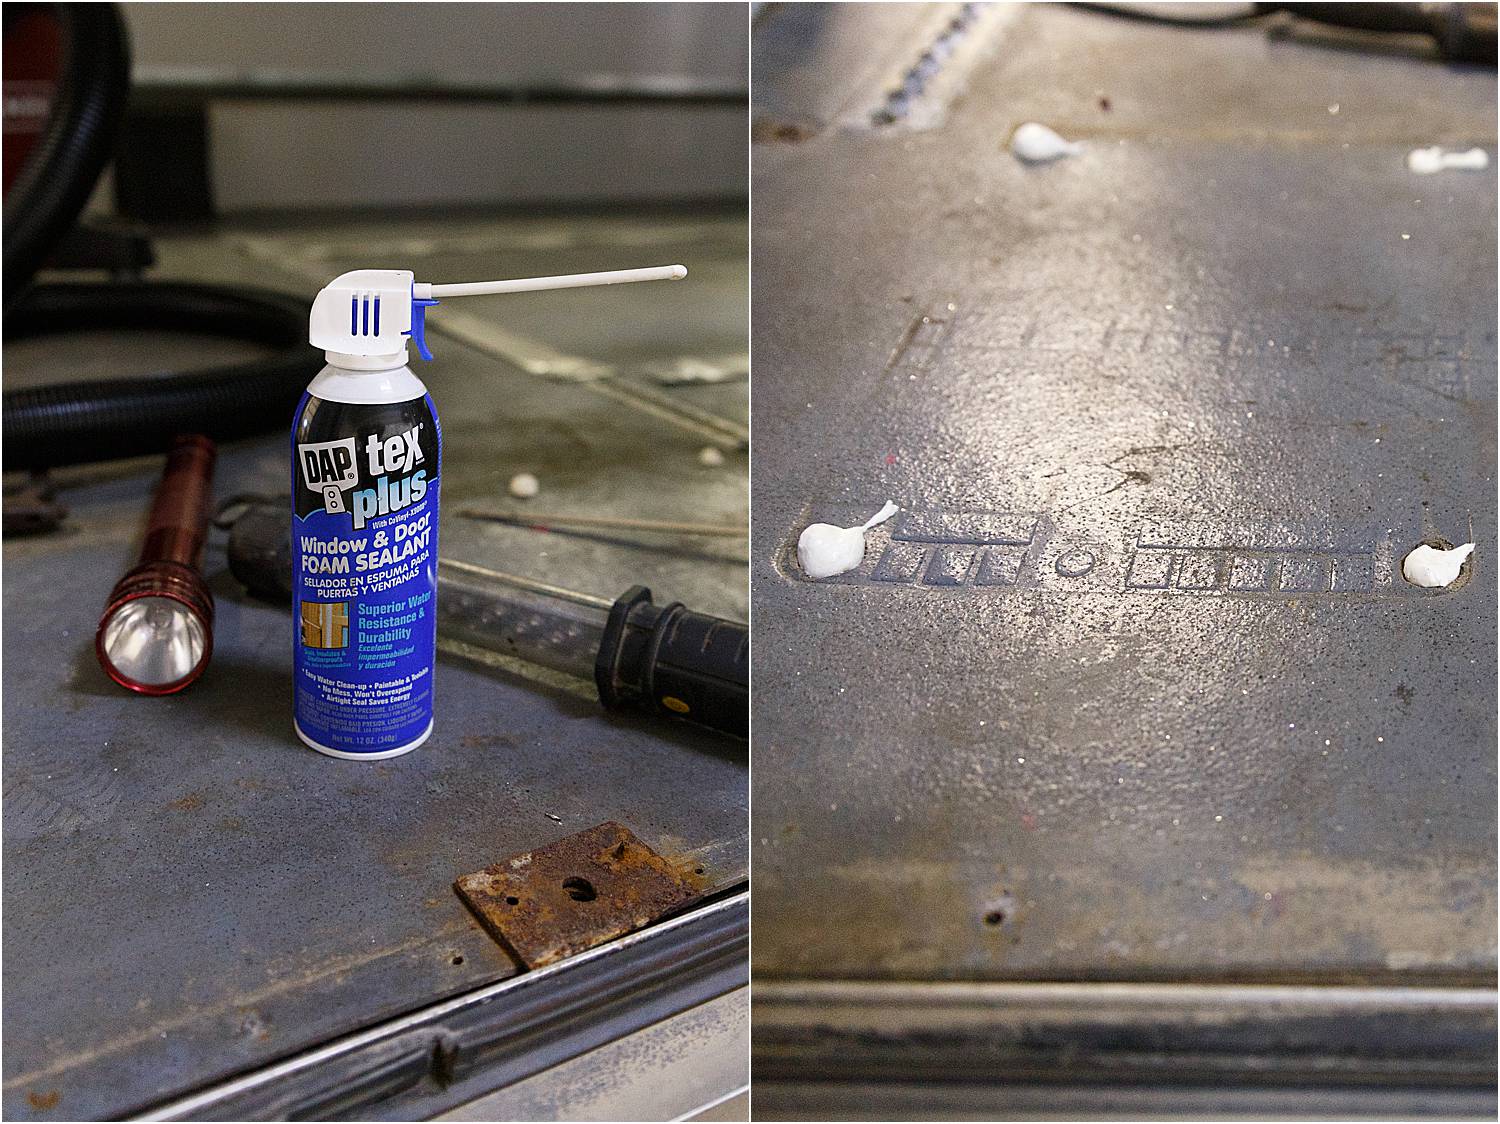
 We pulled up nails/screws and filled any holes that went through the floor with spray foam insulation.
 Goodbye carpet!!
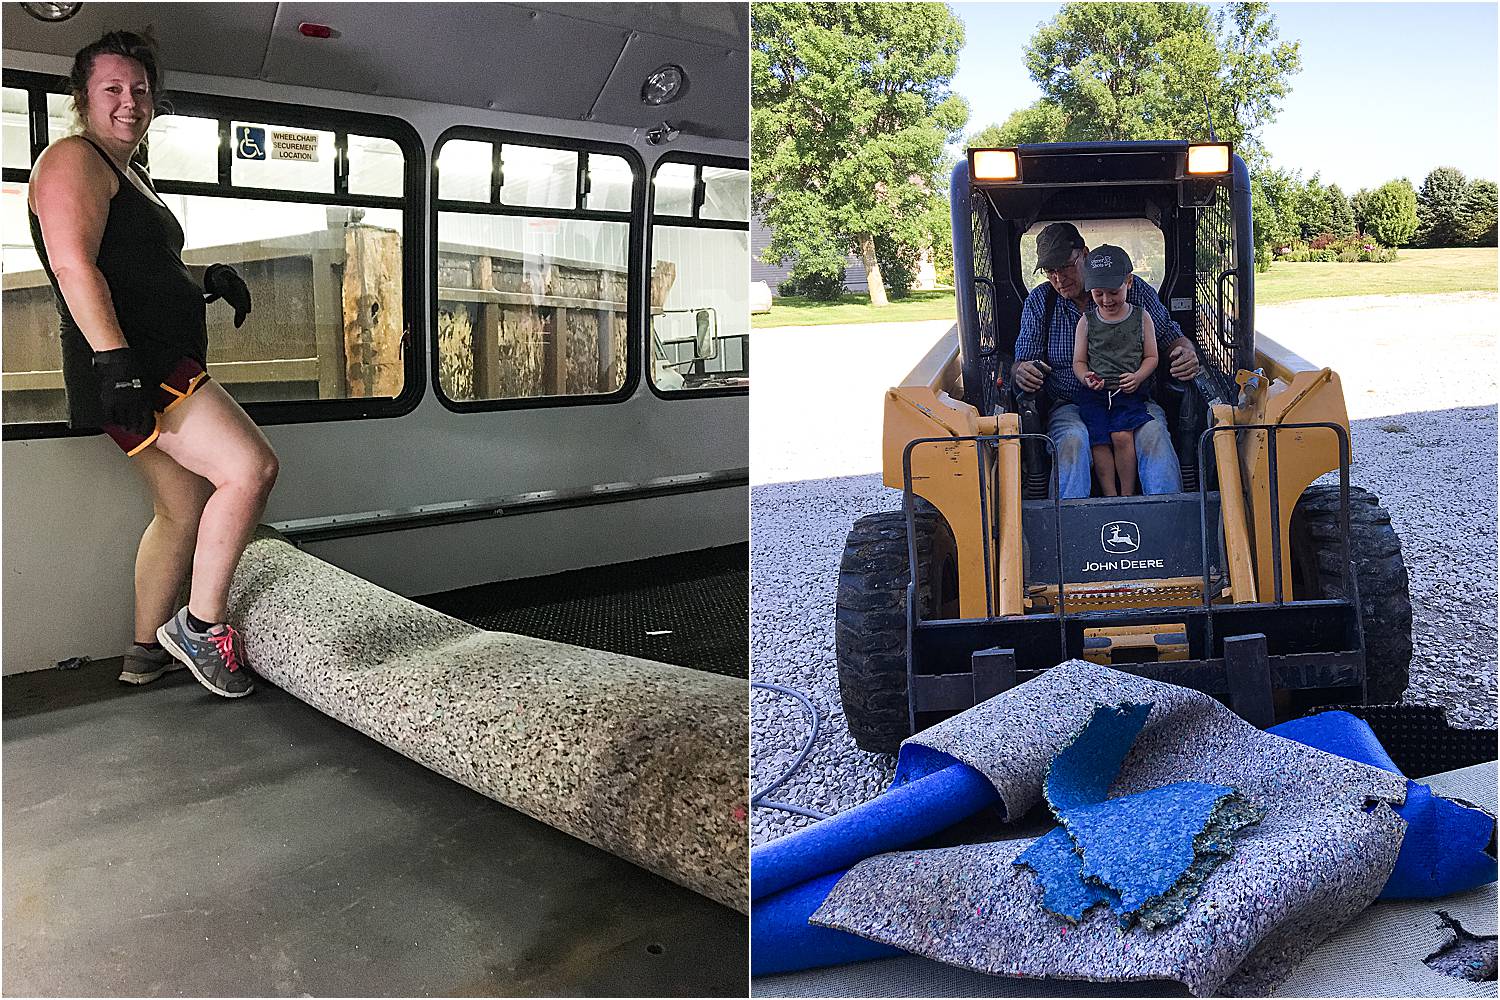
The stair area is where we ran into some unexpected issues. The roof and door had unknowingly been leaking around the driver seat and the stairs, but the carpet had been disguising the damage for probably years. This isn’t something that could have possibly developed in our past year of bus ownership.
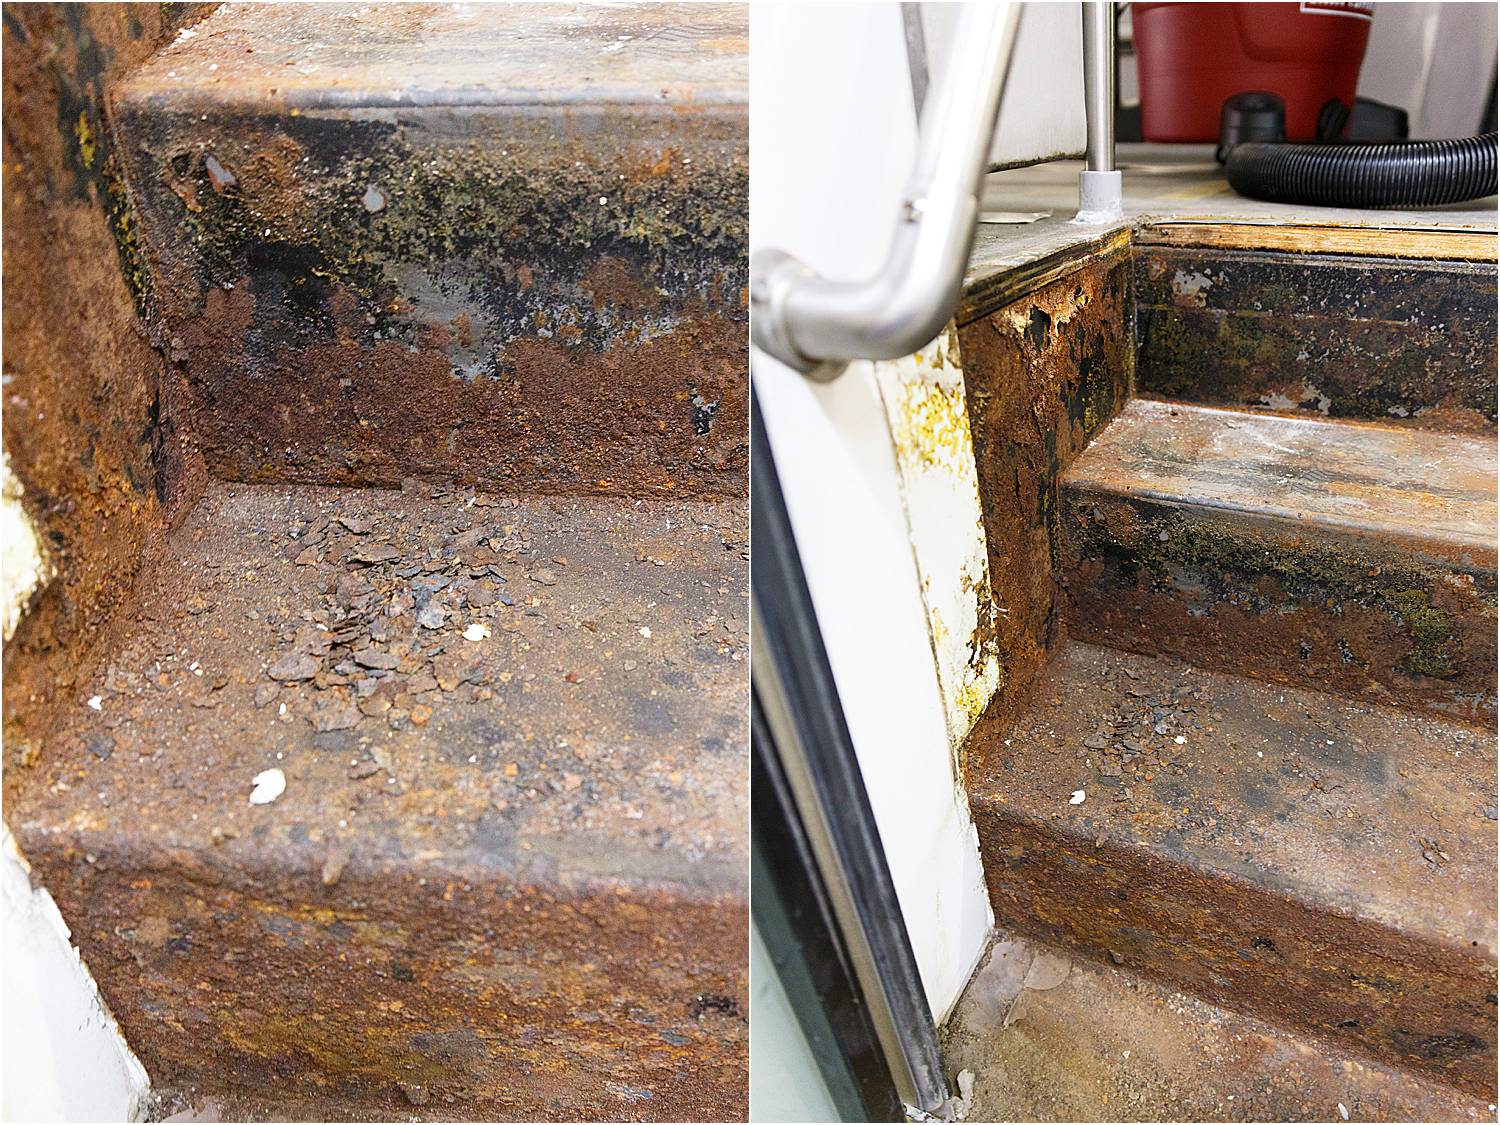 Big sigh. This became a much bigger project, one we still haven’t quite resolved. So more on that in a separate post.

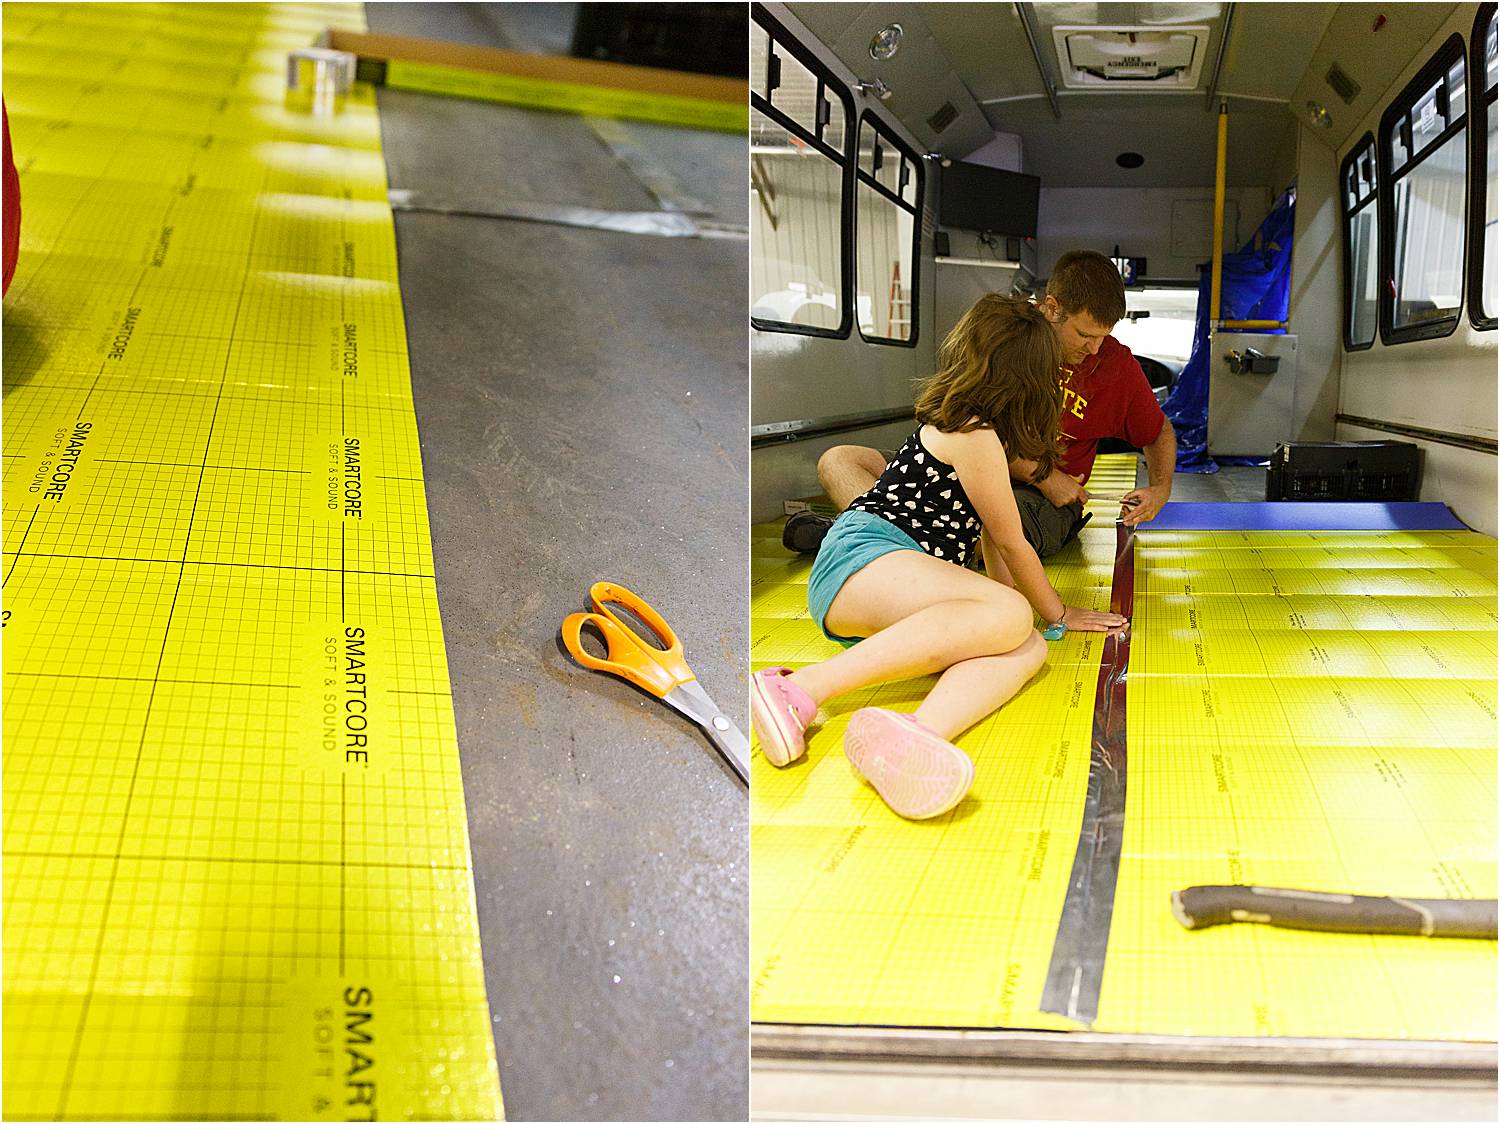
Next we installed a simple water barrier/underlayment: SmartCore Soft & Sound. A bit more pricey at $65 a box, but needed since we both took out the carpet pad/insulation AND we needed an additional layer to smooth out the unevenness of the floor. It went in super simply and we held the seams with underlayment tape.
Now the flooring! I really love this product and how it turned out. We did some math to ensure we wouldn’t end on an ittybitty piece, and began working. As with any plank flooring, remember to preemptively cut lengths off your boards to ensure your seams don’t line up across the rows.
 Of course, making cuts around the bus was a little different than a nice square living room, but not any more complicated than a bathroom tile job. Luckily my dad has all the saws, jigs and other tools we needed.
 To close the gap and keep the floor “floating” we found pre-finished white PVC baseboard moulding and did a quick screw countersink so we could screw it into the bus wall. We ordered some white stickers to hide the holes and really make it look polished! L was my big helper installing the stickers.

 I’m so happy with the finished product and already it’s been so easy to sweep and mop up!!
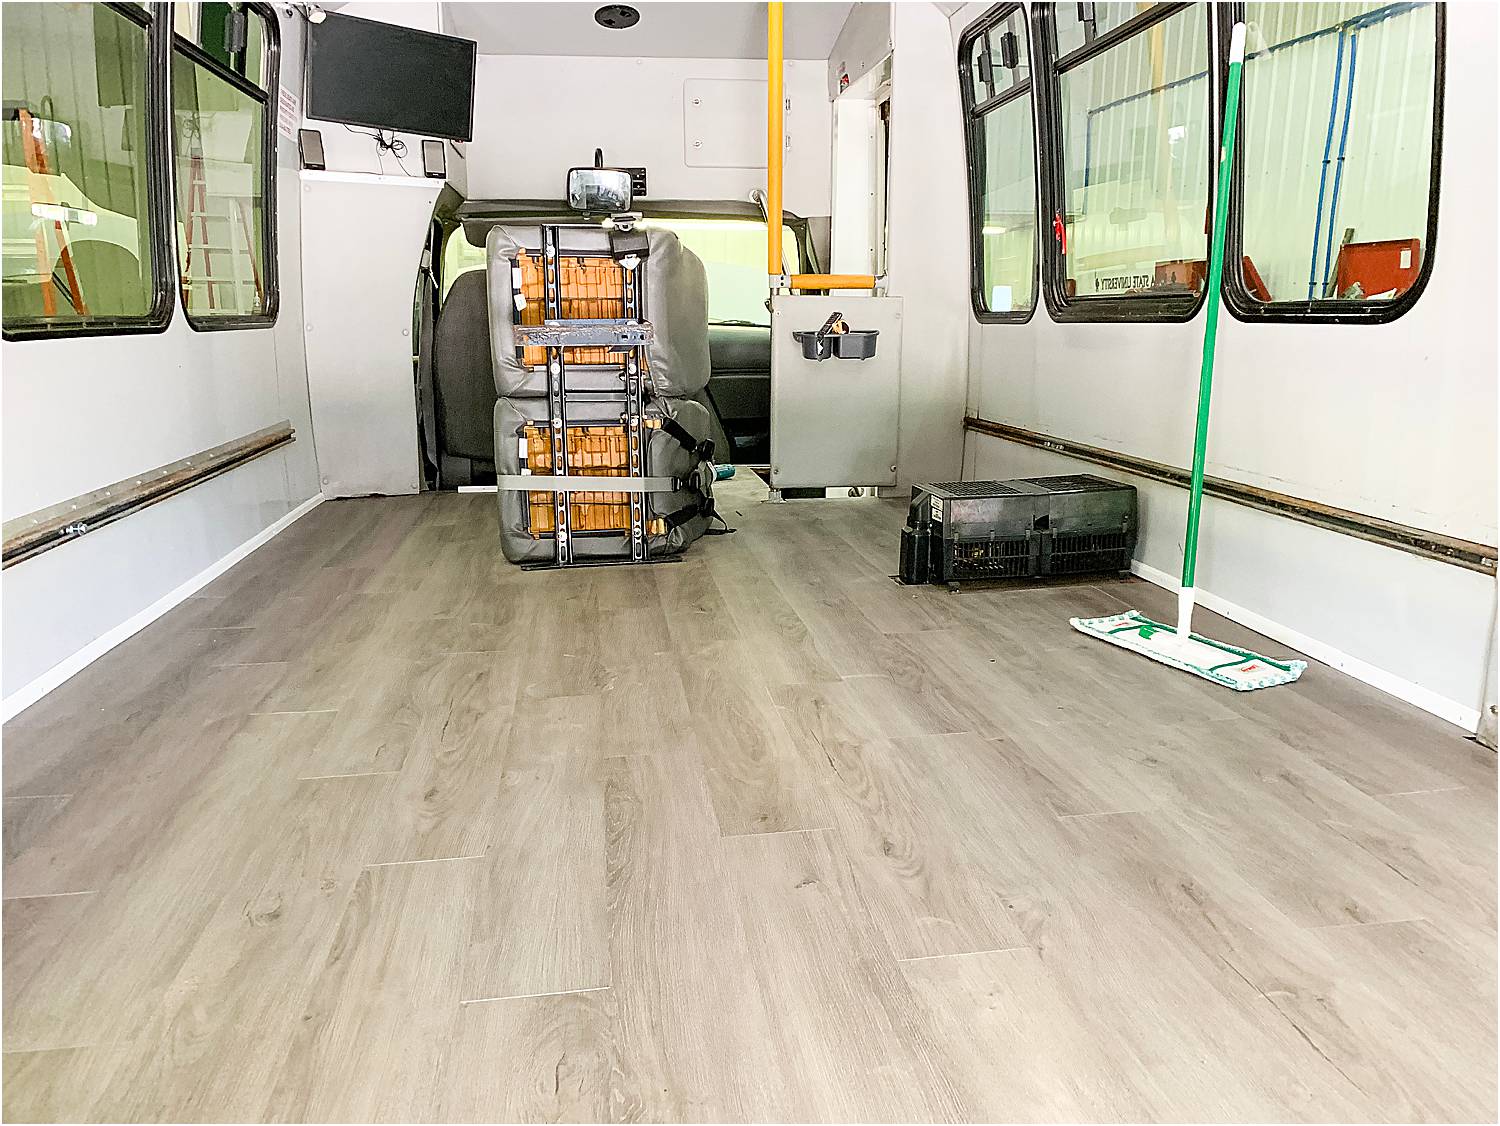 We of course re-installed the bus seats and then got to work on the leak and front stair/rust situation. We were able to install the backup camera and fit in Dave’s back door project—but ran out of time to address seating on the long side of the bus. Another project for another day! For now, we’re happy to be leak-free!